Showing posts with label twists. Show all posts

Friday, November 4, 2011

How to do a Twist-Out

I have another video for you all!

After I posted a pic on facebook of V's Twist-Out I had a few questions from people about how to do a Twist-Out....so this is for you!


In the video I do not really talk about the longevity of a Twist-Out, so let me address that here.

In our experience we have never had V wear a Twist-Out for more than a day. Often we will take out a hairstyle the day before we plan to wash her hair and restyle it, so the Twist-Out is just sort of the first step in that process - her hair looks cute and we are getting a jump start on hair day!

V's Twist Out at the end of a long day.  Much less defined than when we first took them out as you can see in the video.

Because we don't use a lot of gel in our styles and I don't use any kind of setting or curling cream her Twist-Out's loose definition by the end of the first day. Each of the little sections start to puff out and expand. We also don't take any special care to preserve the style over night, other than the sleep cap she always wears. BUT if you wanted to try to preserve a Twist-Out you could either loosely band the hair in sections of maybe very loosely braid the hair in big sections over night, and don't forget a sleep cap or scarf! The next day you can than either lightly spritz and scrunch the hair, or put a bit of oil on your fingers and run it over the curls.

As the Twist-Out looses definition it will start to look more like a chunky afro which is also a really cute look and fun style! So I would say you could go with a Twist-Out for several days to a week, just realize it is going to loose definition and change it's look as time goes by.

Unfortunately, when Miss V wears styles like this she tends to get a lot of attention that she seems uncomfortable with. She is used to people commenting and raving over her beautiful hair, and when she wears big puffs she gets a lot of attention too, all of which she enjoys. But for some reason the Twist-Out (which is usually pretty big and fluffy) seems to elicit stupid comments like, "wow, look at your crazy hair" or "wild hair" "or something similarly negative in feeling no matter how nicely a person seems to say it. So I think if we ever do a Twist-Out for more than one day, we would pull it back into pigtails or something.

This is V's hair after a Braid-Out.  I guess it is big and wild, but Adorable!

Have a LOVELY day!
Katie

Tuesday, August 23, 2011

Picture Day Puff!

Here in Michigan the kids haven't returned to school yet.  They go back the day after Labor Day.  But they did go in last week to get their school pics taken.  Due to some time constraints I had to take out V's current braids, wash her hair, and put in the new style all in the morning before going to school after lunch!  When I told V that we had to do something simple, she excitedly suggested a big puff!  Brilliant girl!  I hadn't even thought of that!

Of course just a puff isn't quite exciting enough for me, so we needed to jazz it up a bit.  I don't really stress about school pictures though because I don't buy them.  They just go in the year book.  I always take my own pictures of the kids every fall that I make prints of and give to family and friends.


As you can see.  I decided to add these little twirlies all the way around her hairline going up to the puff.  There is probably a better name for these like single stranded rolling twists or something, but I like twirlies.  After all, that is how I did them.  The hardest part of this style was parting out the puff.  Trying to make a nice round circle on a not so perfectly round head is tricky.  But after that, I just made triangleish parts, twirled each section, and stuck the ends up under the ponytail holder that was holding the puff.  Simple!


The next day I wanted to get all that free hair tucked into something more protective, still wanting to keep things simple though because it will be time to do Back-to-School hair soon.  I chose twists.  We have been doing a lot of braids lately.  I also didn't make these the rope style twists (you know the kind where you twirl the hair as you twist) I wanted these to be loose and fluffy.  Well, fluffy they are, and they are great!  I just reused the triangle parts that were already in and than sort of randomly made more triangleish parts all over.  This wasn't a meticulously planned out style.  And I LOVE it!


I am afraid with the twists being so loose they won't last long.  Although they have been in about 5 days now and are still holding up pretty well.  It is funny when a quick easy style turns out to be a favorite!

I am still undecided about how I am doing V's Back-to-School hair.  What are you all doing?


Katie

Friday, October 1, 2010

Notes about yesterday's hairstyle post...

Wow!  You guys left so many comments on V's style yesterday that I thought I would write a quick post to answer a few questions.

First of all, I LOVE wooden beads, but I don't have any!  These beads are just regular plastic pony beads, but they are the BGP size!  I really want some wooden beads that are even larger than these ponies but every time I see them in the store the inside looks so rough!  I am thinking those wouldn't be good on the hair.

Second, these twists are TWO STRAND ROPE TWISTS.  I have only played around with three strand twists once or twice, and I didn't think you could really see the difference between two and three strands so I have stuck with two strands.  BUT I would be happy to play around with it and make a video some time on how to do three strand twists.  If you want a demonstration on how to do the rope looking twists in yesterday's style check this video.

Third, I have been using a mixture of coconut oil and shea butter when I put in twists that I only plan to leave in for a few days.  The butter does not really substitute well for a gel, so if I am putting in a style that I want to last I use Taliah Waajid gel.  But for these twists I just gave them a good dose of my homemade hair butter.

Fourth, about the ends getting damaged.  I do like to work extra amounts of hair butter into the ends of the hair, but that isn't really going to prevent damage that will be done by barrettes and rubber bands.  I don't think there is anyway to get around that.  I trim V's hair every 4 months or so myself.  I just cut off the bit of damage from the ends and then she has healthier and easier to manage hair for a while!  If you don't want to cause any damage to the ends, then I would avoid EVER putting any barrettes or bands on the ends.  We all do things that cause some amount of damage to our hair for the sake of styling, we just want to be sure to way the good with the bad.  I try to go back and forth between beaded and non beaded styles to give V's hair a break.  But I can handle a bit of damage done to the ends every now and then.  Even with the regular trims I give her, her hair is still getting longer all the time.

I think that answers all of your questions!  Thank you for all of the nice comments.  V said a lot of people told her that her hair was pretty yesterday!  Stay tuned for pics of the new yarn braids I will be getting started first thing tomorrow morning!!!!!


Katie

Thursday, September 30, 2010

Shades of Brown

I did a quick twist hairstyle on V last night for a temporary style as we prepare to put in yarn braids this weekend!  I have been wanting to buy these shades of brown barrettes and beads for quite a long time and I FINALLY did it!

As it turns out, she doesn't currently have a lot of brown in her wardrobe, but I think that brown is a really great neutral color that can go along with anything she wears without really clashing.

We took these pics early this morning before the sun had joined us, so I had to use the flash.  The glare on the barrettes makes it a bit difficult to see the true colors, but I think you get the idea. Here are a few more pics.

Don't these colors just feel like fall?!?!


Katie

Sunday, August 29, 2010

Twist Update, Hair Washing Experiment, and A NEW 'Do!

Hold on to your seats everyone this post is full of a bunch of this, that and the other thing!  I hope you can follow me!

First up:  A few pics of some or the variations we did with V's 
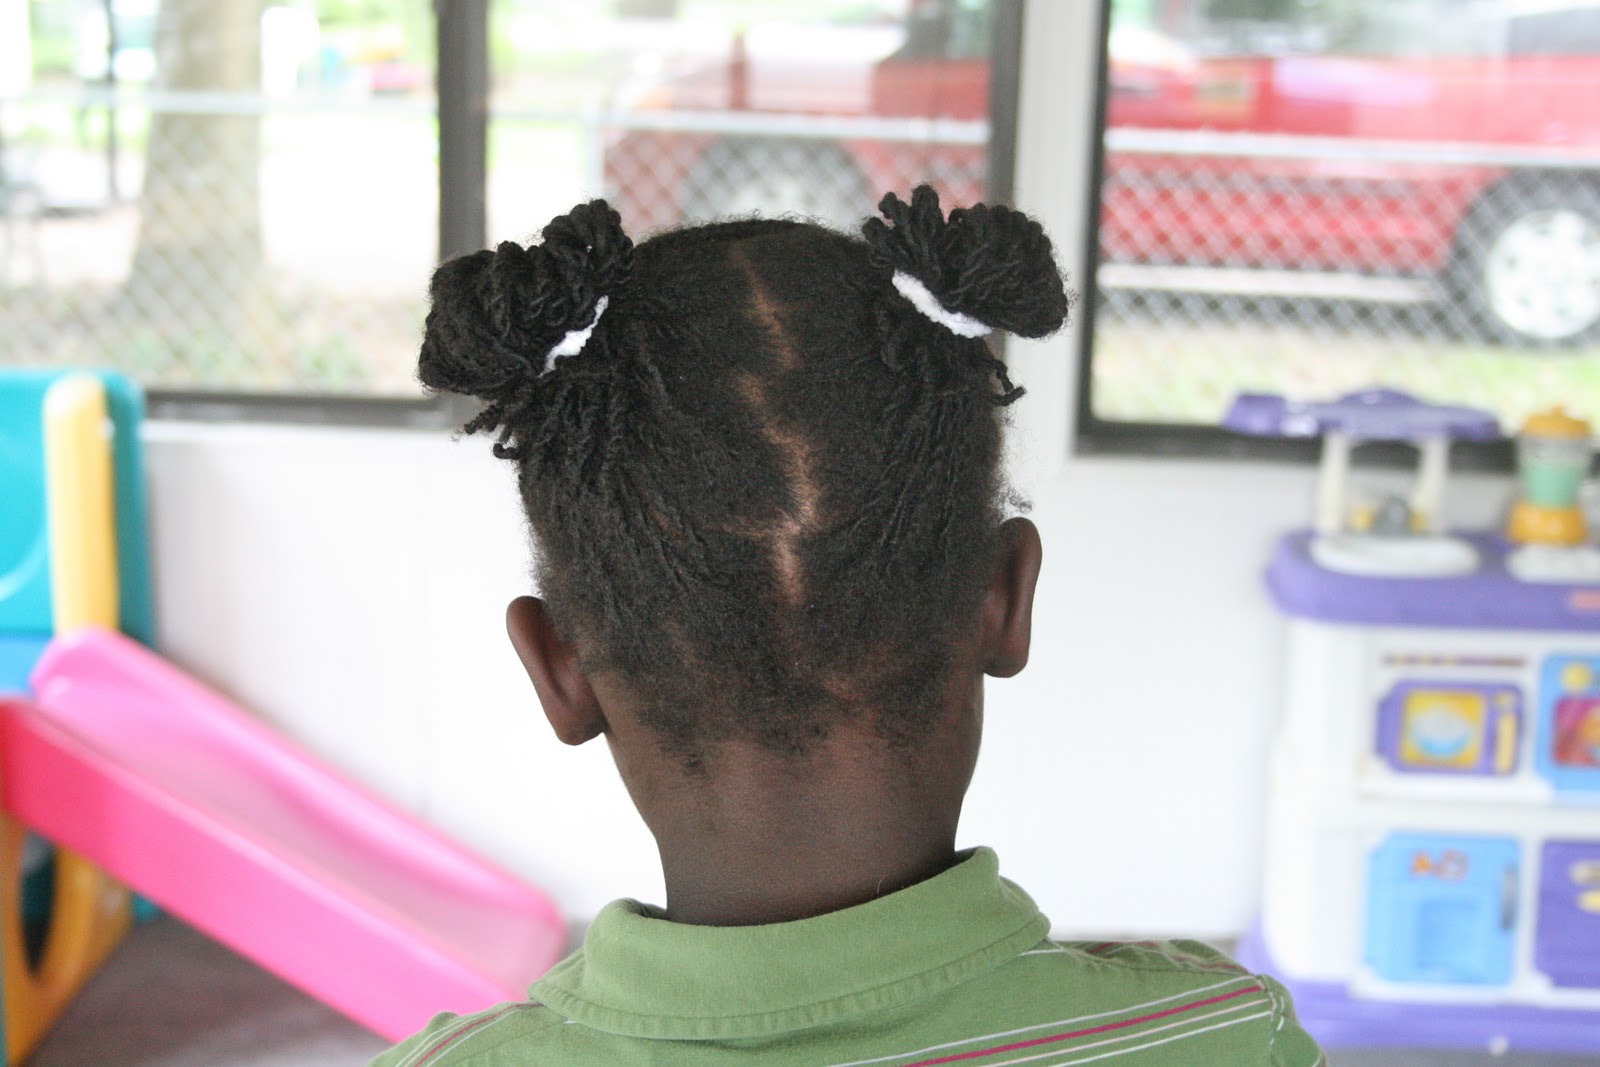
twist style.  The twists did start getting raggedy looking sooner than I would have liked, but after we threw them up in some ponytails and pigtails they looked plenty good enough to keep for another week or two!


I already showed you this, but the pic up above is of the twists with just a few added barrettes.  The next thing we did was pull everything back into a single ponytail.  Simple. Cute. Summerish.


You can kind of tell in those pictures that V was sporting her twisty bangs on the left side of her forehead again, I don't know why, but the way her hair is growing it just works well to only do the bangs on that one side and I think it is cute!  Anyway, when I switched her hair to pigtails those bangs were looking kinda frumpy and I had already redone them once.  Instead of redoing them again, I just did a twist out, and then cornrowed the little twistes together.  It was super fast, required no comb and looked great!  I didn't even add beads or anything to the end I just grabbed a small barrette and clipped it back.


This is one of those styles that I think looked cuter in person than in the pictures!  I also tried to put the twists into 3 sections, but it just didn't look right.

Next Topic:  We still have another week before the kids go back to school here in Michigan.  So even though it was time to take these twists out I didn't want to do V's back to school hair style just yet.  Since her hair was in these smallish twists and I knew we would be washing it again in a week I decided this was the PERFECT time to try out a new hair washing technique!

I have been reading for a long time about ways that you can wash hair in sections, but I never really looked into it.  More recently it has been popping up for me here and there while exploring the internet and I started to think that maybe there was an easier way than my old method!  If you have ever watched my "Our Hair Routine" video you know that I follow this process:  1) remove current style  2) detangle hair one section at a time and put each section into a big twist before moving on to the next section  3) take out large twists and wash hair  4) separate hair into 4 large sections and detangle again 5) begin new style.  This takes a LONG time!  I have tried to skip steps before but her hair ended up so tangled that it took me just as long to clean up my mess!  I think I have realized that I was skipping the wrong steps!

I believe it was on Happy Girl Hair that I recently read of this quick method:  1) wash hair while still in current style  2) take out style  3) detangle hair  4) begin new style.  That sounded much faster!  But I believe there are two important elements that need to be in place to use this method.  1} The hair should be in a style that allows for a lot of access to the scalp when washing, for instance, the small twists that V just had.  2}  Because I tend to keep styles in for about 4 weeks at a time I wouldn't want to use this method after 4 weeks of no washing followed by another 4 weeks of no washing.  In this case, yes, her twists had been in for 4 weeks, but I knew I would be washing her hair again in a week, so I figured it was ok if we didn't get as deep of a clean this time around.  If you are someone who does hair on a weekly basis than this method could be great for you!  I just wouldn't do it week after week because you can't be sure you are getting the hair and scalp as thoroughly clean this way.

Well, it worked for us and saved us a bunch of time.  I finally bought that new SHOWER HEAD that Steph insisted I needed and she was right!  I was able to get a super good rinsing of V's twists with the new hand held sprayer!  And when I went to take out the twists and detangle her hair it felt clean to me!  I have been experimenting with a few other washing techniques lately in addition to this one, but I will have to share those at another time.

And Last but not Least:  We needed a good temporary style to get V through the next week, so I decided to do some quick, big, fat cornrows into a ponytail.  There are 7 cornrows total plus the one across her forehead.  It took me just over an hour to do, and that is really fast in my book!  This was also the perfect style to finally try out our homemade Big Giant Ponies that we cut off of our old worn out ballies!  And they worked GREAT!


Since I hadn't cut up all my ballies I still had some matching ones left to secure around the ponytail!  Doesn't it look great?!  They are very noisy and V has been enjoying them a lot!

Well, that is it for today!  I am looking forward to next weekend when I steal that adorable pigtail style I showed you from one of our readers!  Can't wait to show you the finished look!  And I am SO ready for my kids to go back to school!

How about you?  Did your kids already go back?  Did you do a fun new style to commemorate the event?


Katie

Thursday, August 5, 2010

Twists, Twists and More Twists (and Cornrows!)

Our family is headed out for the weekend!  We are going on a road trip with my husbands family to the Zoo and the Children's Museum and another Mystery Destination!  We are quite excited, as we don't go on many trips or vacations!!!

I spent most of the day yesterday doing V's hair to prepare for the trip.  My fingers are still aching!  I put in quite a lot of two strand twists and a few cornrows in the front.  I was inspired by a picture on the Hair With Purpose Blog.  Again, my style ended up different from hers, but seeing this picture got my creative juices flowing.

Not to make the style sound more exciting than it is.  Mostly it is just twists.  Why don't I show you?!?!


The inspiration style, I believe, was all twists with just 3 cornrows going toward the back on one side.  I ended up doing 4 cornrows on the side, but I wish I had done 3 because I really like how the inspiration style is parted so far to the left and sweeps over to the right side.  Maybe next time!


Another change I made was to put a few cornrows going sideways over her head to the right.  For added interest I made the cornrows progressively longer.


The back of this style is just two strand twists.  I decided to do the rope style twists hoping that they would last longer without getting fuzzy.  Rope style twists look cool, but I normally prefer regular twists because they are fluffier and make the hair look more full.

This is actually a style that will look better after a day or two.  It looks kind of stringy right now but it will fluff up a bit over time.  Maybe I will get some good pics on our little trip and post them for you all to see!
There isn't much else to say about this style.  Here are few different angles:


I am hoping this will look really nice for at least two weeks.  I used my Taliah Waajid gel in hopes of getting extra hold.  I might add a flower clip or two on the right side for some color.  After a few weeks if it starts looking messy I will put it into pigtails or something cute and make it last another week or two!

V's opinion of this style:  "It's comfortable and me and B look like twins!"

*Yes, this is also a GREAT bike helmet and swim cap style!  Which is perfect for a weekend of swimming in a hotel pool!*

I hope you all have a really lovely weekend!  Steph will be holding down the fort while I am gone.  Be sure to pay attention because we might just have another giveaway coming up soon!!!!  


For styles like this, do you prefer box braids or box twists?

Katie

Popular Posts